TODO: To change the footer's content go to Dr.Explain menu Options : Project Settings : HTML (CHM) Export : Setup HTML Template and Layout
1. Issue a new button with the use of a button reader
This window lets you issue a new button to an employee for whatever reason (previous button lost, damaged etc.) You will be warned that the button currently allocated to the employee will be removed from his/her name on the previous day.
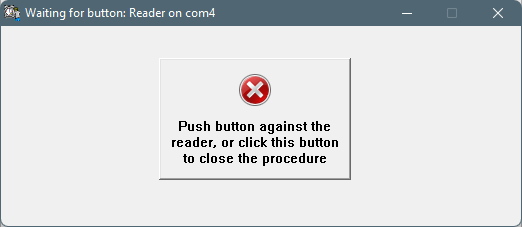
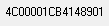
If you have purchased the optional button reader, you can use it to identify a button and display the number in the 'Button number' field. Connect the reader to your computer before clicking on this button. A second screen will appear and the button reader will make a 'peep' sound. Press the button on the button reader to be read.
If a button was used recently, and it is available again (allocation was ended on another employee's records), the button number can be found on the dropdown list. Type the button number or click the dropdown arrow and select a button from the list that appears. If you do not own a button reader, you can clock with the button, after every unallocated button have been deleted. After the clock movements have been downloaded, there will be a new button number available on the list (without the other unallocated buttons).
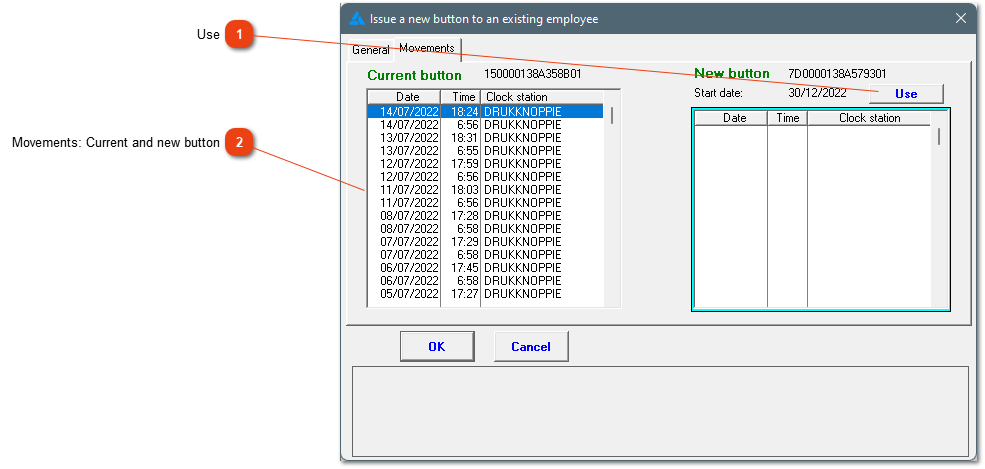
If a button is currently assigned to the employee, the number will be shown here. When you enter the date of the new button allocation, the system will warn you that the existing assignment will be cancelled. If you proceed, the current button will be removed from the employee's name on the day immediately preceding the date on which the new button is assigned.
A tool to help you allocate the button on the correct date.
If you are content with these dates and the date that you've chosen to allocate the button, click on 'Use'. Another way is to go back to the 'General' screen and 'OK' (Save) the process from there.
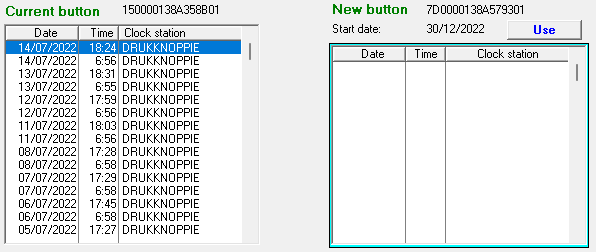
Movements: Current and new button
Here, you can see up till which date the old (current) button has movements and when the movements start on the new button. This is helpful to look at if you're unsure when an employee lost his old button so that dates do not overlap.
1. Connect the docking station to the computer and insert the memory module (In the event of a portable clock, the clock must be connected to the computer).
2. On the Main Screen choose option No. 6 in yellow: Export of names to clock.
3. Insert the memory module in the clock. The memory module will now be ready for use (In the event of a portable clock, ignore this step).
4. The employees' names will appear when clocking, you can test this to confirm the process completed successfully.